Pushing Docker Image to Docker Hub
A step-by-step guide to building and pushing Docker images to Docker Hub — commands, tagging strategies, and best practices for sharing containers.
A custom image that only exists on your laptop is not shipped; it is a local experiment. The moment a teammate or a server needs to run it, the image has to live in a registry. Docker Hub is the one most people start with, and the push workflow is the same shape you will later use against Azure Container Registry or Amazon ECR, so it is worth doing once by hand before automating it. This post walks through that manual path with a small nginx-based image.
1. Create a Docker Hub Account:
First, we need a Docker Hub account. Visit https://hub.docker.com/ and sign up; the free tier gives you unlimited public repositories, and you only need to upgrade for private ones. The username you pick is important, because it becomes part of every image name. To pull any image from your repository you use:
Docker pull <username>/<repository name>:<tag>If we don’t pass a tag, it will fetch the latest image.
2. Generate access token:
You can log in to Docker Hub from the CLI with your account username and password, but that hands the CLI full access to your account, and every password change forces a re-login everywhere. Use an access token instead: you can scope it to what the job needs and revoke it without touching anything else.
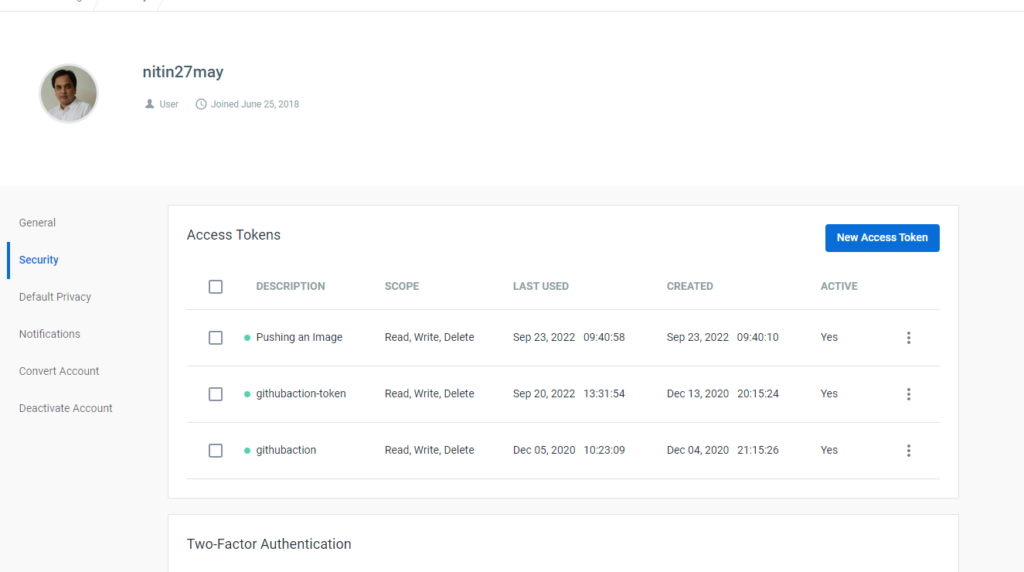
Go to Account Settings > Security. In my case it shows some existing tokens, but yours may be blank. Click New Access Token.
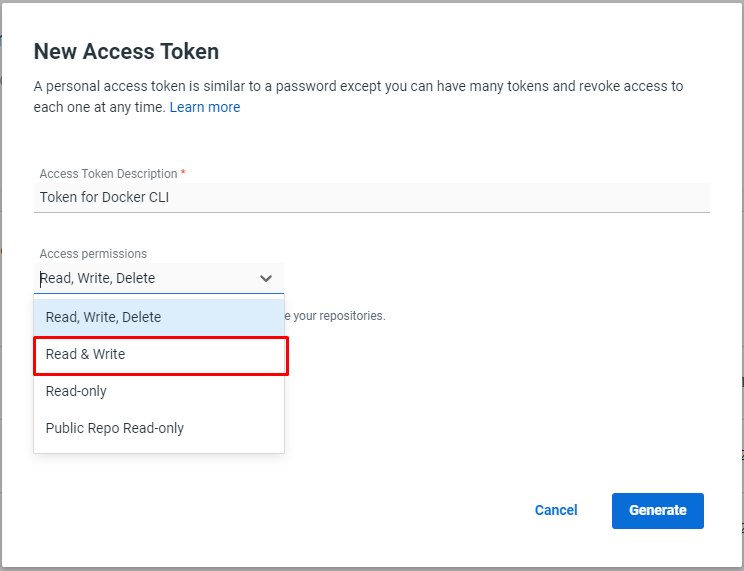
We want to read and write, so select Read & Write; if you also need to delete images, pick that permission instead. Click generate, then copy the token and keep it somewhere safe. It will not be shown again.
3. Login to Docker Registry:
docker login -u <username> -p <accesstoken or account password>Or just run `docker login` and it will prompt for username and password.
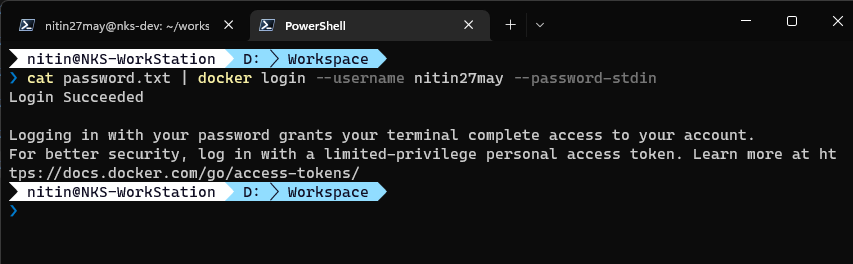
Passing the secret with -p leaves it in your shell history and CI job logs. Use the --password-stdin flag instead, which tells Docker to read the secret from STDIN so you can pipe it in from a file:
cat password.txt | docker login --username <username> --password-stdinHere, password.txt holds the access token value we generated above.
4. Building a custom image:
I have a very simple example using nginx as the base image; the code is in the Git repo. We just need a sample HTML file and a Dockerfile, both in the same folder:
Dockerfile code:
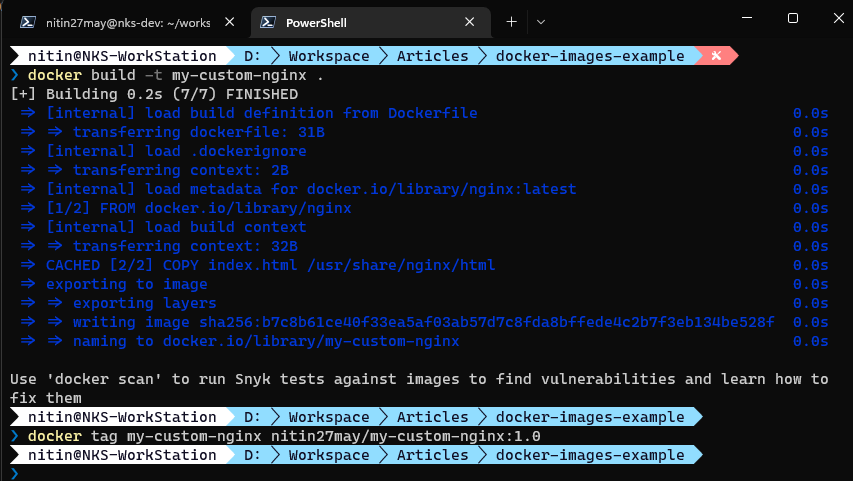
FROM nginx:latestCOPY index.html /usr/share/nginx/htmlThis Dockerfile pulls the latest nginx image and copies index.html into the html folder on top of it. Let’s build the custom image:
docker build -t my-custom-nginx .The trailing . (dot) passes the current folder as the build context.
Output:
5. Tag it and push the image to container registry
Now tag the locally created image with your Docker Hub username and the image name:
docker tag my-custom-nginx nitin27may/my-custom-nginx:1.0docker push nitin27may/my-custom-nginx:1.0In the commands above, nitin27may is my account name, my-custom-nginx is the repository name on Docker Hub, and 1.0 is the tag, so the full image reference is nitin27may/my-custom-nginx:1.0.
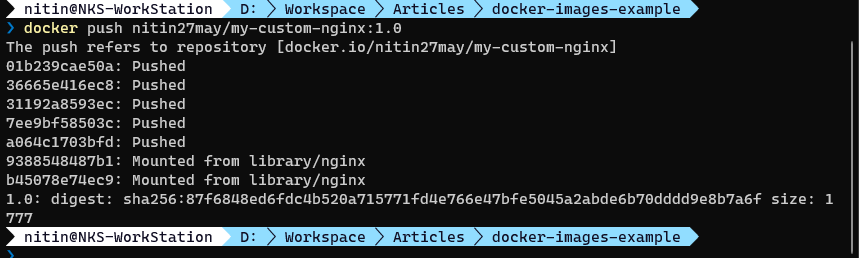
Below is the screenshot from Docker Hub showing the pushed image in my account.

What’s next
Doing this by hand is fine exactly once. In the next article I automate the whole sequence with GitHub Actions, so every commit builds, tags, and pushes the image without anyone opening a terminal.
Comments
Comments are GitHub discussions. Sign in with GitHub to post; reactions need no account.